Install Home Assistant (Supervised) on Debian
This guide will go over how to install Home Assistant (Supervised) on Debian based Linux Distributions

Welcome to the always up to date Home Assistant (Supervised) installation guide
This guide will go over how to install Home Assistant (Supervised) on Debian based Linux Distributions. Remember only the latest version of Debian is supported, no derivatives
Important Please Read
Before continuing make sure you read and understand the following documents:
0014. Installation method: Home Assistant Supervised
0012. Define supported installation method
Pre-installation Steps
Step 1: Becoming Root
Before we start, you must make sure you are logged in as root, Debian may not come with sudo installed, so in order to become root type:
su -Then enter the root password you configured during installation, Be sure not to forget the dash as it allows the system to run the login scripts for the root user.
However, if you are on a system with sudo installed you can use the command:
sudo su -Before preceding, confirm you are root by typing:
whoamiYou must be root in order to continue
Step 2: Updating your System
Before starting it is a good idea to update your system, to do so enter the three following commands:
apt-get update
apt-get upgrade -y
apt-get dist-upgrade -y
Step 3: Install Dependency's
Install all the required dependency's with the following command:
apt install \
apparmor \
bluez \
cifs-utils \
curl \
dbus \
iproute2 \
jq \
libglib2.0-bin \
network-manager \
nfs-common \
systemd-journal-remote \
systemd-resolved \
systemd-timesyncd \
udisks2 \
wget -y
Step 1: Install The Docker Engine
1. Run the Docker CE installation script
Simply run the Docker CE for Linux installation script:
curl -fsSL get.docker.com | sh2. Test your Docker Install (Optional)
To test your docker install run the hello-world script:
docker run hello-worldIf Docker is working correctly the following message will be displayed:
Hello from Docker!
This message shows that your installation appears to be working correctly.

To generate this message, Docker took the following steps:
 1. The Docker client contacted the Docker daemon.
 2. The Docker daemon pulled the "hello-world" image from the Docker Hub.
    (amd64)
 3. The Docker daemon created a new container from that image which runs the
    executable that produces the output you are currently reading.
 4. The Docker daemon streamed that output to the Docker client, which sent it
    to your terminal.

To try something more ambitious, you can run an Ubuntu container with:
 $ docker run -it ubuntu bash

Share images, automate workflows, and more with a free Docker ID:
 https://hub.docker.com/

For more examples and ideas, visit:
 https://docs.docker.com/get-started/
Step 2: Install Home Assistant
Installing Home Assistant is easy simply follow these steps
1. Install the OS Agent
The OS Agent allows the Home Assistant Supervisor to communicate with D-Bus and will soon be required
To Install it simply use the follow commands:
wget https://github.com/home-assistant/os-agent/releases/latest/download/os-agent_1.4.0_linux_x86_64.deb
apt install ./os-agent_1.4.0_linux_x86_64.deb
Of course being sure you replace `os-agent_1.4.0_linux_x86_64.deb` with the latest version which matches your CPU architecture. Available at the GitHub Releases page
2. Run the Home Assistant Install Script
Now that you are root simply run these commands to download and install Home Assistant Supervised:
wget https://github.com/home-assistant/supervised-installer/releases/latest/download/homeassistant-supervised.deb
apt install ./homeassistant-supervised.deb
After it has finished running you should be able to access Home Assistant from:
http://your.ip.address.here:8123Step 3: Post Install Steps
1. Install The SSH Add On
The SSH add on in Home Assistant allows you to access the Home Assistant command line interface which can be vary helpful for diagnosing issues with you Home Assistant install
- To install SSH head to the Supervisor tab
- Then click Add on Store
- Now find Terminal & SSH and Click install
Before starting you must set a password and change the port as port 22 is already used by the Host's SSH server
So before you start the Addon head to the configuration tab and change the Port setting under Network and add a password. Be sure to save both these settings then you can start the add on
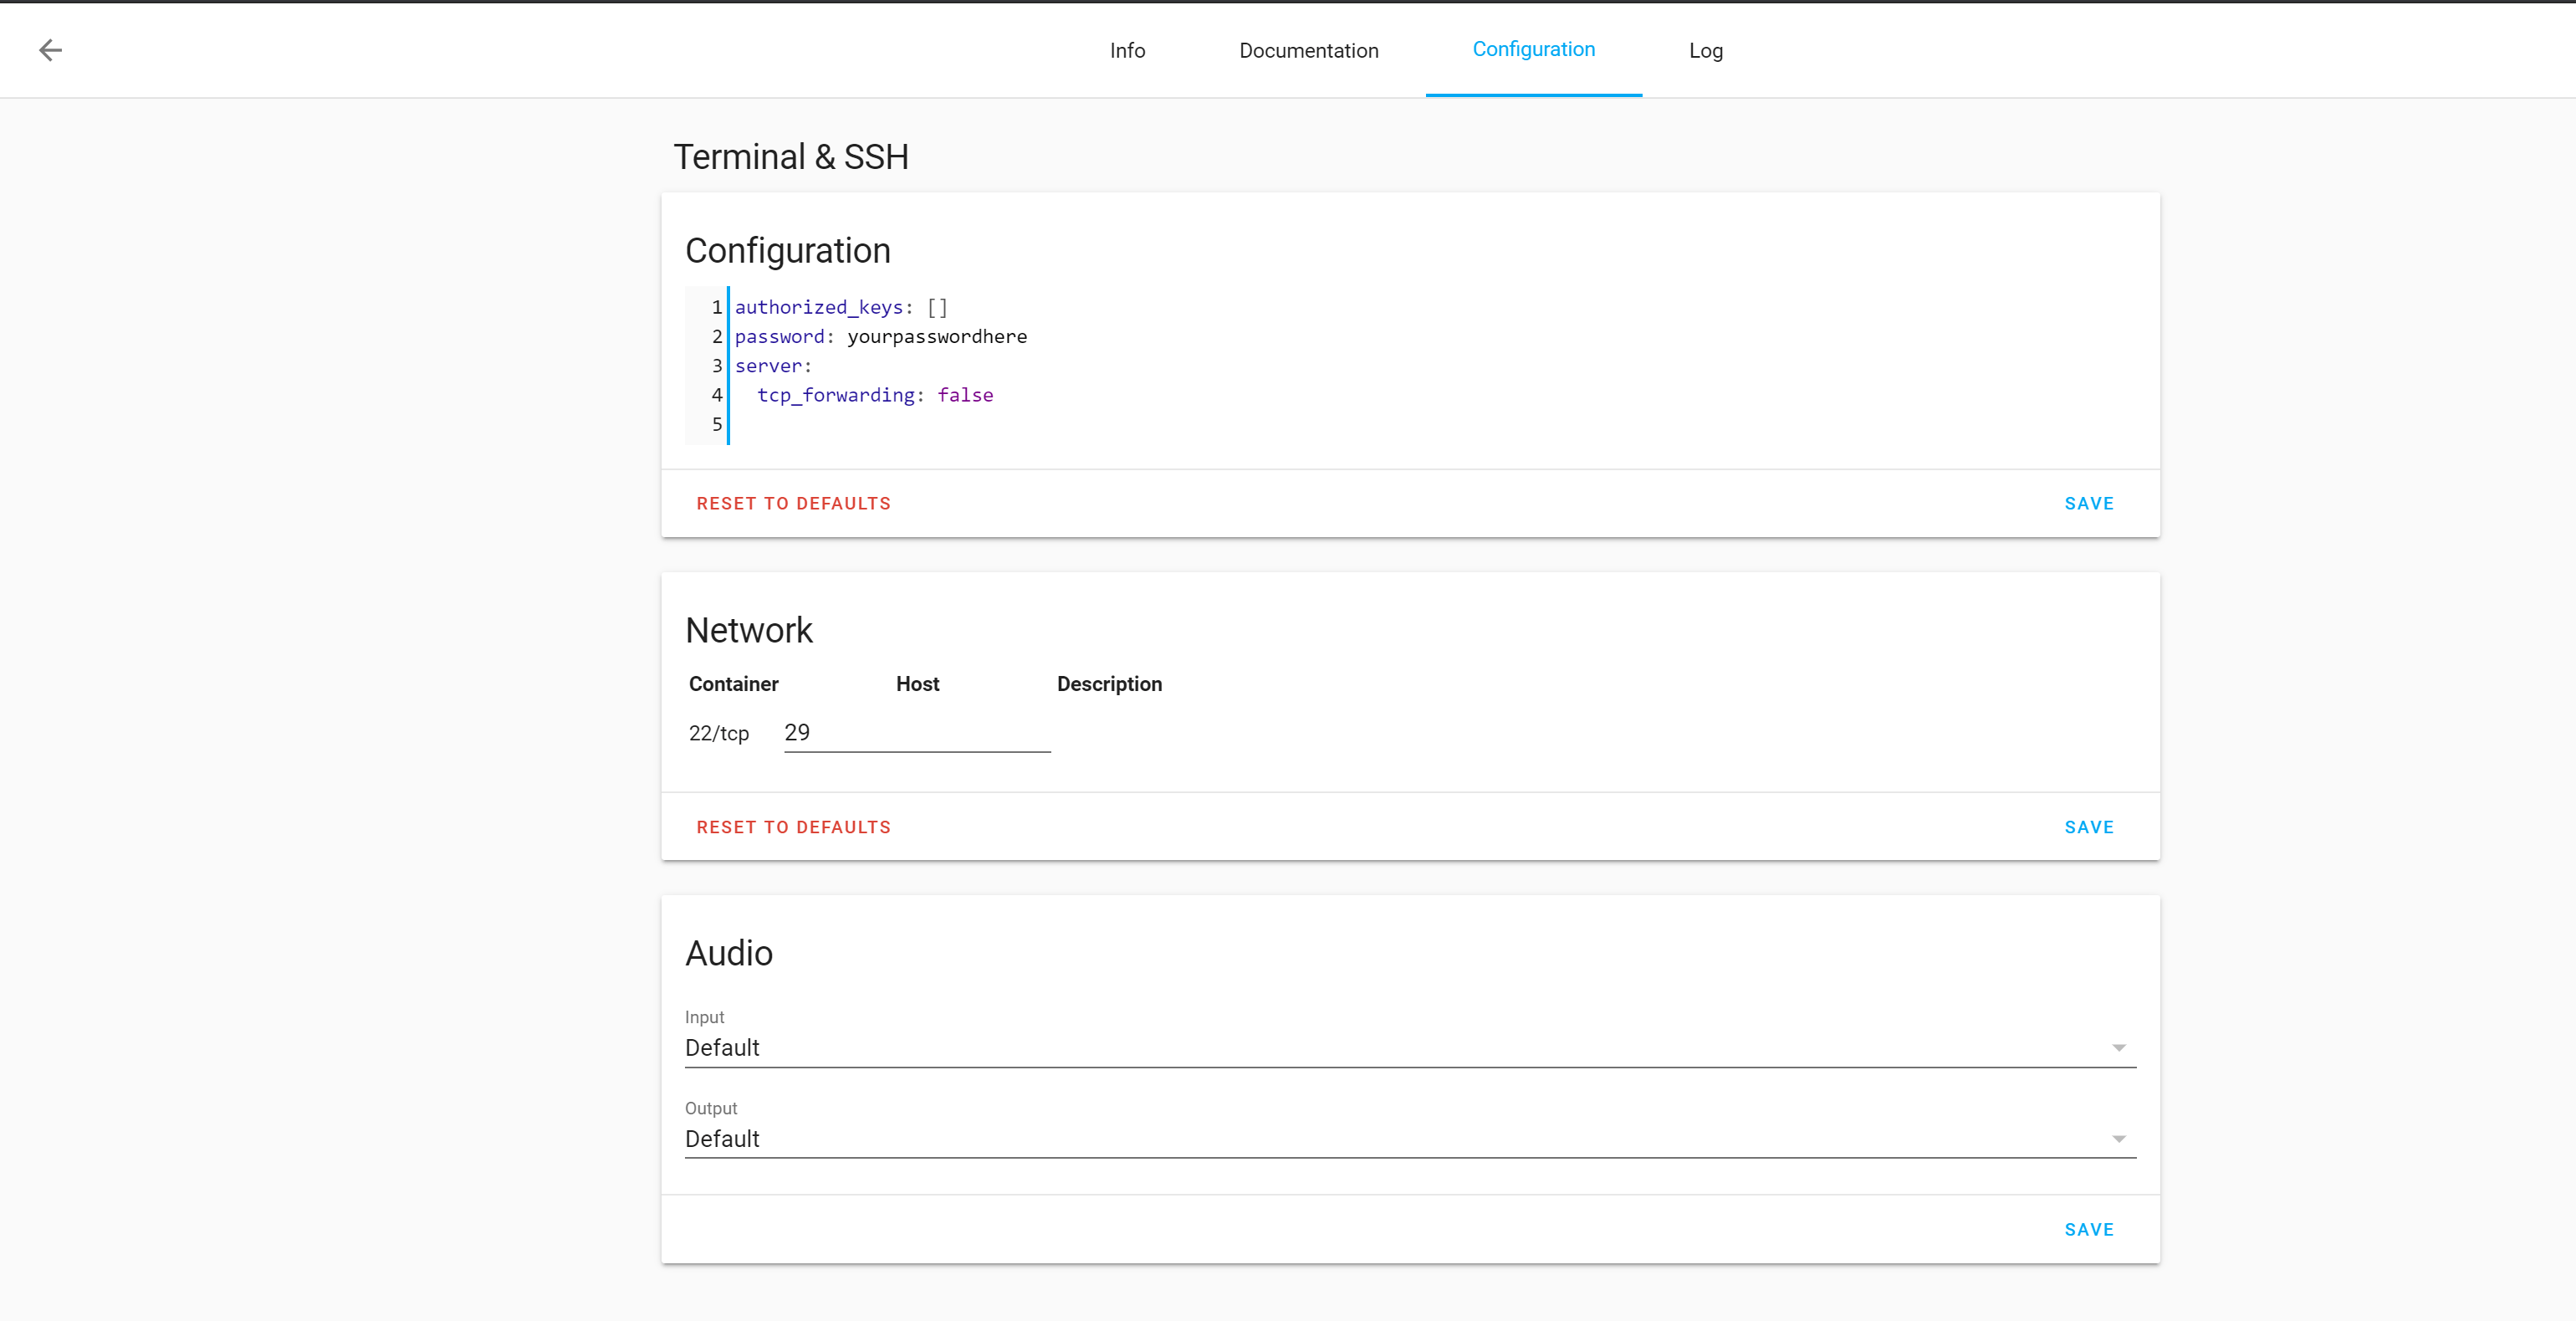
You should now be able to now SSH into your hassio instance using the command
ssh [email protected] -p 292. Install SAMBA
SAMBA will allow you to access your configuration files from any PC on your local network
To install it simply
Find SAMBA share in the add on store
Edit the Configuration to to include your own username and password
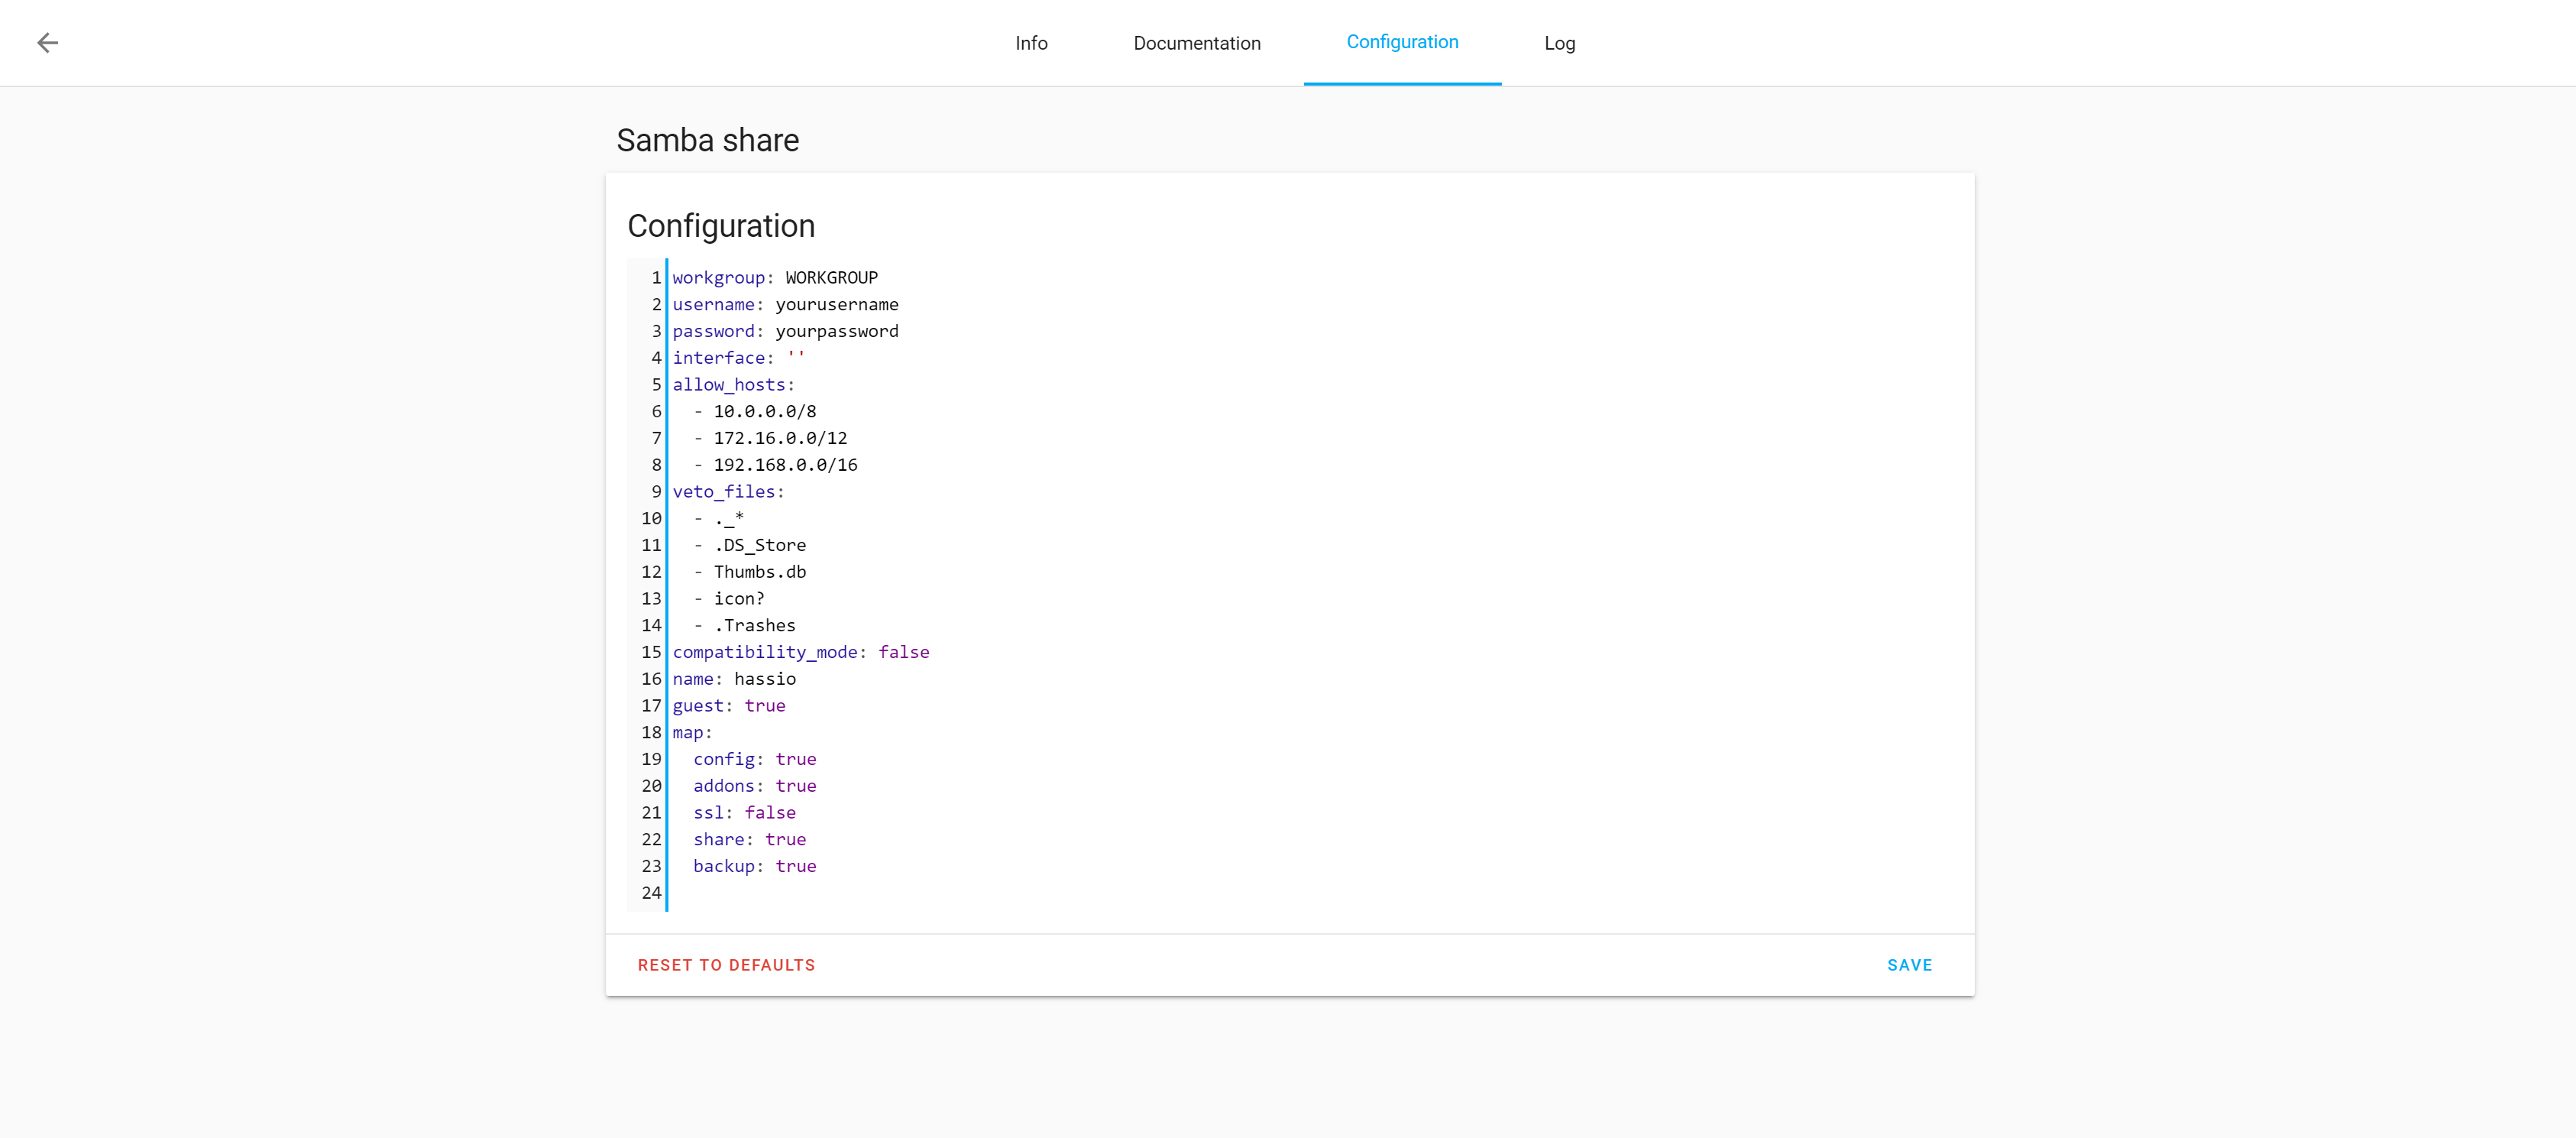
Then save the config and start the add on
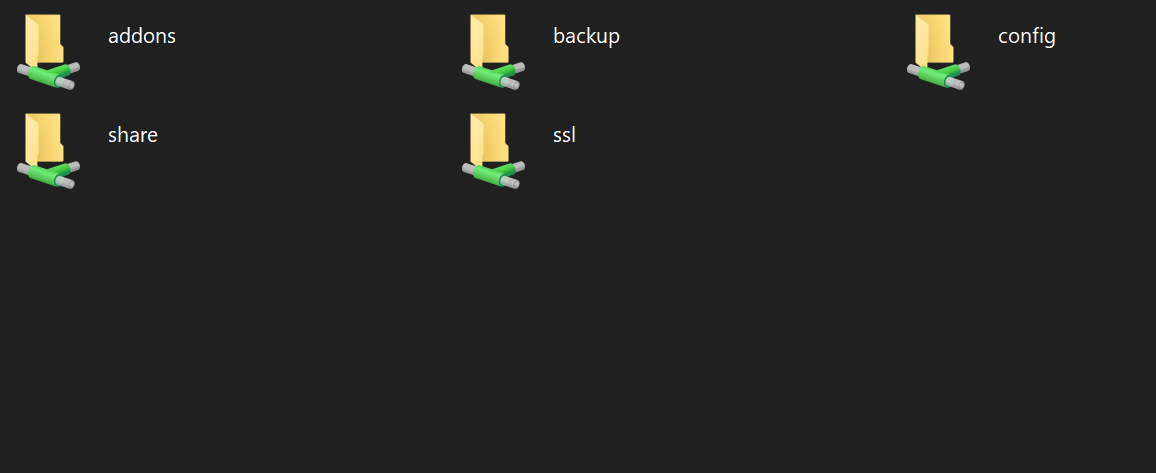
Now you should be able to access your files from any file manager on the network by typing
\\your.ip.address.here\into your file browser
Your Home Assistant config files will be found in the config folder
Congratulations you have now setup Home Assistant!!!
Thanks for reading, if you have any questions feel free to contact me on Twitter or the DrZzs Discord Server
Notes
Ubuntu Server is no longer officially supported by Home Assistant
Home Assistant (Supervised) now only officially supports the latest version of Debian, That means that if anything breaks you cannot complain about it. However they are not preventing you from still installing it If you are installing Home Assistant Supervised on anything other than Debian Bookworm you will get a notice in the supervisor
To learn more please read the Home Architecture Decision Record Documents:
0014. Installation method: Home Assistant Supervised
0012. Define supported installation method
Also be sure to update me in the comments below or reach out to me on Twitter or Discord if you run into any issues you believe to be caused by this change